Laser Scanner Sensors
Generic laser range sensors
This is a generic sensor class used to emulate laser range scanners, including a variety of SICK and Hokuyo sensors.
This sensor works by generating a series of rays in predefined directions, and then computing whether any active object is found within a certain distance from the origin of the sensor.
The resolution and detection range can be completely configured using the MORSE Builder API. This will generate a flat mesh with a semi-circular shape, where its vertices represent the directions in which the rays of the sensor are cast. It is also possible to create a sensor with multiple scan layers, such as the SICK LD-MRS. This is configured using the parameters specified below.
Note
Objects in the scene with the No collision setting in their Game properties will not be detected by this sensor

SICK LMS500 |
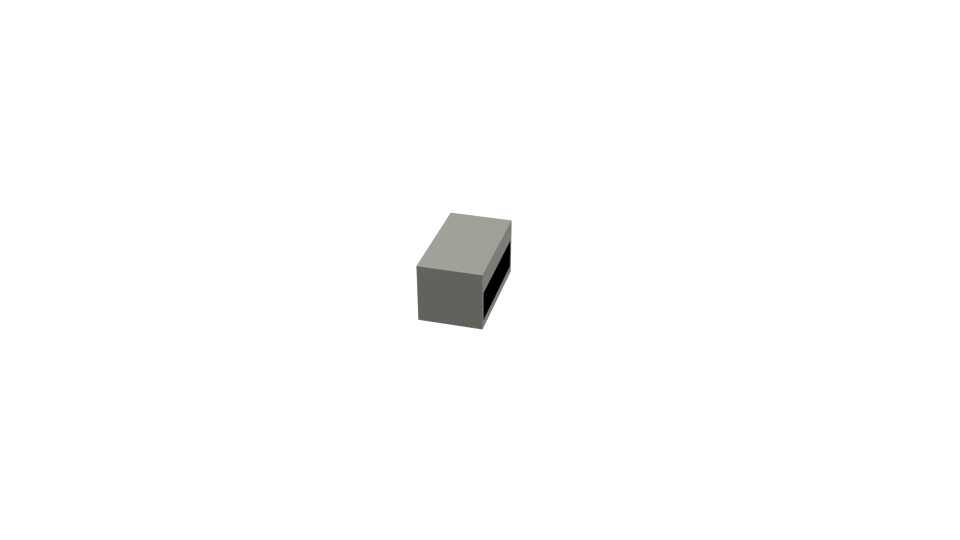
SICK LD-MRS |

Hokuyo |
LaserScanner with remission values
Remission “is the reflection or scattering of light by a material.” (http://en.wikipedia.org/wiki/Remission_%28spectroscopy%29)
The level “rssi” adds a list of remission values to the LaserScanner. If a ray during the scan hits an object the rssi-value is the specular intenisty of the object’s material; If it does not hit an object with a material the remission value is set to 0.
The intensity of the material can be changed in Blender (Property -> Material -> Specular -> Intensity). The important options are highlighted in the first image.
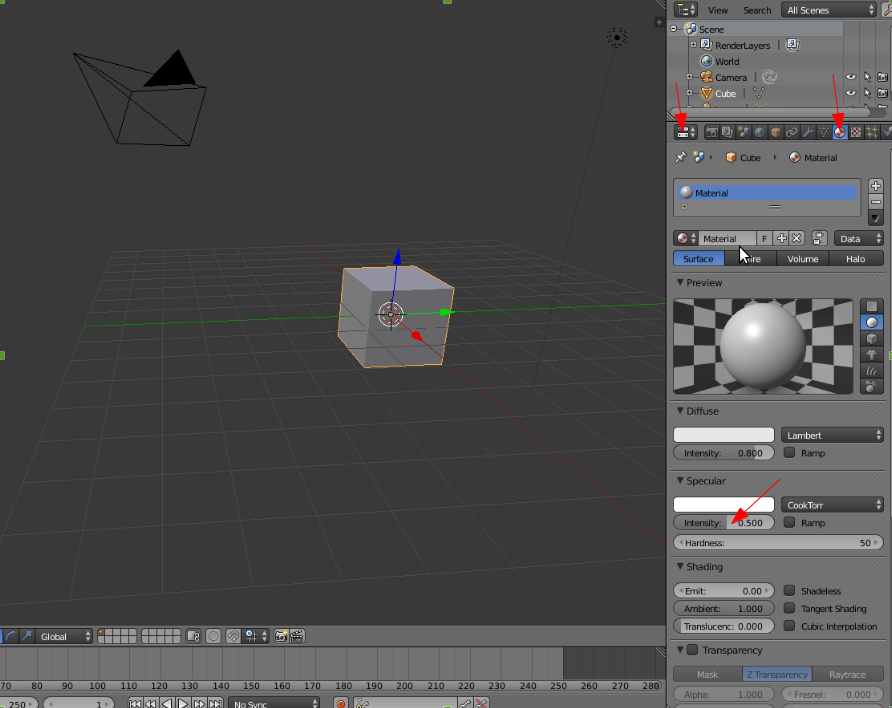
Specular intensity of a material in Blender |
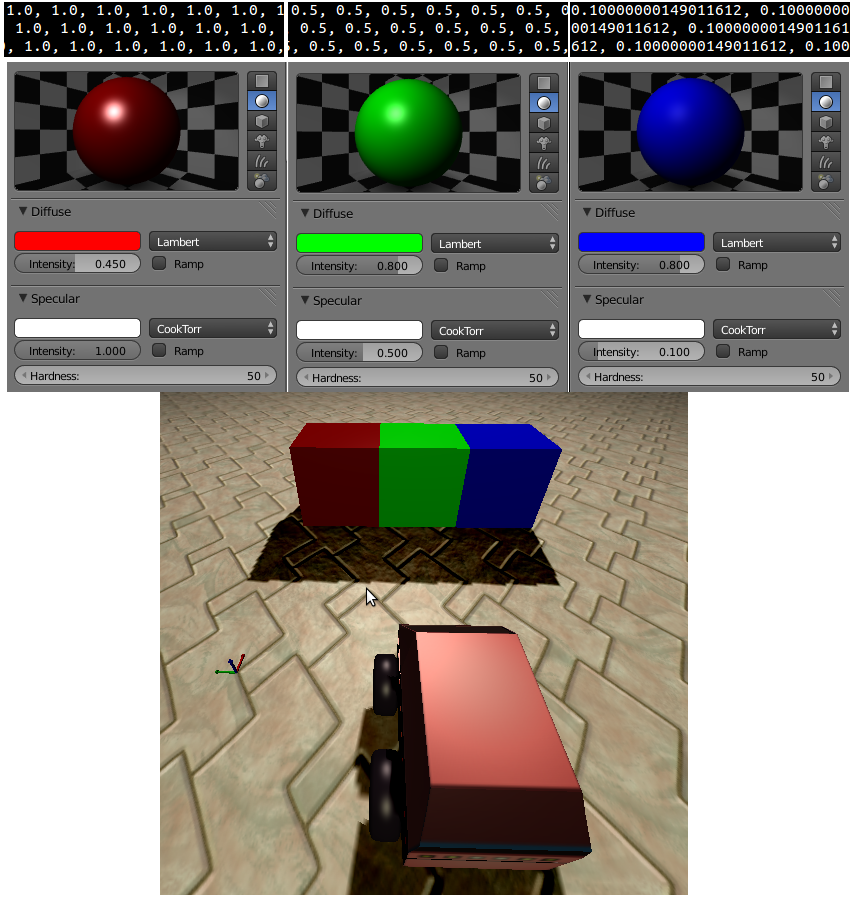
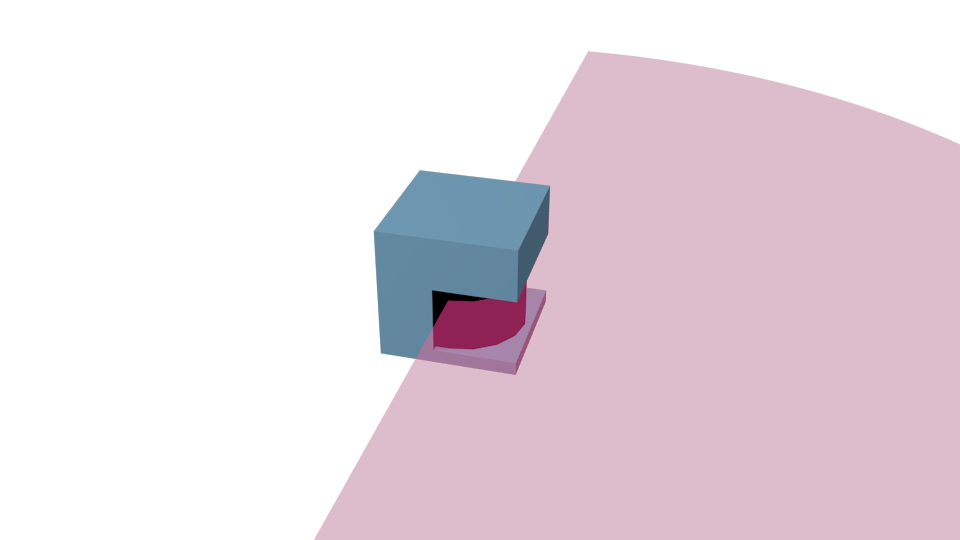
Example of the LaserScanner with remission values |
In the second image the sensor is illustrated. Above every box the material properties and a corresponding excerpt from the socket stream is displayed.
Note
The remission values are not comparable to any physical remission value and are not calculated. They are just based on a property of a visual effect.
Configuration of the scanning parameters
The number and direction of the rays emitted by the sensor is determined by the vertices of a semi-circle mesh parented to the sensor. The sensor will cast rays from the center of the sensor in the direction of each of the vertices in the semi-circle.
Three preconfigured scanners are available: a SICK LMS500 laser scanner, a Hokuyo and a SICK LD-MRS. The example below shows how to add them in a simulation:
from morse.builder import *

# Append a sick laser
sick = Sick() # range: 30m, field: 180deg, 180 sample points

hokuyo = Hokuyo() # range: 30m, field: 270deg, 1080 sample points

sick_ld_mrs = SickLDMRS() # range: 30m, field 100deg, 4 layers, 400 points per layer
All these default parameters can be changed i(cf Configuration parameters below). An example of how to change the arc object using the Builder API is show below:
from morse.builder import *

# Append a sick laser
sick = Sick()
sick.properties(resolution = 5)
sick.properties(scan_window = 90)
sick.properties(laser_range = 5.0)
Note
In some special cases (like multi-robot setups), you may need to
additionally call sick.create_sick_arc() after setting your
scanner properties.
The ray will be created from (-window/2) to (+window/2). So the
range_list will contain the range clockwise.
Another example for the SICK LD-MRS:
from morse.builder import *

sick = SickLDMRS()
sick.properties(Visible_arc = True)
sick.properties(resolution = 1.0)
sick.properties(scan_window = 100)
sick.properties(laser_range = 50.0)
sick.properties(layers = 4)
sick.properties(layer_separation = 0.8)
sick.properties(layer_offset = 0.25)
As with any other component, it is possible to adjust the refresh frequency of the sensor, after it has been defined in the builder script. For example, to set the frequency to 1 Hz:
sick.frequency(1.0)
Configuration parameters for Laser Scanner Sensors
You can set these properties in your scripts with <component>.properties(<property1>=..., <property2>=...).
laser_range(float, default:30.0)- The distance in meters from the center of the sensor to which it is capable of detecting other objects.
resolution(float, default:1.0)- The angle between each laser in the sensor. Expressed in degrees in decimal format. (i. e.), half a degree is expressed as 0.5. Used when creating the arc object.
scan_window(float, default:180.0)- The full angle covered by the sensor. Expressed in degrees in decimal format. Used when creating the arc object.
Visible_arc(boolean, default:False)- if the laser arc should be displayed during the simulation
layers(integer, default:1)- Number of scanning planes used by the sensor.
layer_separation(float, default:0.8)- The angular distance between the planes, in degrees.
layer_offset(float, default:0.125)- The horizontal distance between the scan points in consecutive scanning layers. Must be given in degrees.
Available functional levels
Functional levels are predefined abstraction or realism levels for the sensor.
raw(default level) raw laserscanner: Laserscan with point_list and range_listAt this level, the sensor exports these datafields at each simulation step:
point_list(list, initial value:[]): Array that stores the positions of the points found by the laser. The points are given with respect to the location of the sensor, and stored as lists of three elements. The number of points depends on the geometry of the arc parented to the sensor (see below). The point (0, 0, 0) means that this ray has not it anything in its rangerange_list(list, initial value:[]): Array that stores the distance to the first obstacle detected by each ray. The order indexing of this array is the same as for point_list, so that the element in the same index of both lists will correspond to the measures for the same ray. If the ray does not hit anything in its range it returns laser_range
Interface support:
rosas sensor_msgs/LaserScan (morse.middleware.ros.laserscanner.LaserScanPublisher) or as sensor_msgs/PointCloud2 (morse.middleware.ros.laserscanner.PointCloud2Publisher)socketas straight JSON serialization (morse.middleware.socket_datastream.SocketPublisher)yarpas YarpLaserScannerPublisher (morse.middleware.yarp.laserscanner.YarpLaserScannerPublisher)moosas LIDARNotifier (morse.middleware.moos.sick.LIDARNotifier)
rssilaserscanner with rssi: Laserscan with point_list, range_list and remission_listAt this level, the sensor exports these datafields at each simulation step:
point_list(list, initial value:[]): Array that stores the positions of the points found by the laser. The points are given with respect to the location of the sensor, and stored as lists of three elements. The number of points depends on the geometry of the arc parented to the sensor (see below). The point (0, 0, 0) means that this ray has not it anything in its rangerange_list(list, initial value:[]): Array that stores the distance to the first obstacle detected by each ray. The order indexing of this array is the same as for point_list, so that the element in the same index of both lists will correspond to the measures for the same ray. If the ray does not hit anything in its range it returns laser_rangeremission_list(list, initial value:[]): Array that stores the remission value for the points found by the laser. The specular intensity is set as the remission value. If no object is hit, the remission value is set to 0
Interface support:
socketas straight JSON serialization (morse.middleware.socket_datastream.SocketPublisher)
Services for Laser Scanner Sensors
get_configurations()(blocking)Returns the configurations of a component (parsed from the properties).
Return value
a dictionary of the current component’s configurations
get_local_data()(blocking)Returns the current data stored in the sensor.
Return value
a dictionary of the current sensor’s data
get_properties()(blocking)Returns the properties of a component.
Return value
a dictionary of the current component’s properties
set_property(prop_name, prop_val)(blocking)Modify one property on a component
Parameters
prop_name: the name of the property to modify (as shown the documentation)prop_val: the new value of the property. Note that there is no checking about the type of the value so be careful
Return value
nothing
Examples
The following examples show how to use this component in a Builder script:
from morse.builder import *

# adds a default robot (the MORSE mascott!)
robot = Morsy()

# creates a new instance of the sensor
laserscanner = LaserScanner()

# place your component at the correct location
laserscanner.translate(<x>, <y>, <z>)
laserscanner.rotate(<rx>, <ry>, <rz>)

# select a specific abstraction level (cf below), or skip it to use default level
laserscanner.level(<level>)

robot.append(laserscanner)

# define one or several communication interface, like 'socket'
laserscanner.add_interface(<interface>)

env = Environment('empty')
Other sources of examples
(This page has been auto-generated from MORSE module morse.sensors.laserscanner.)